The only blog post you will ever need about gluten free sourdough
I’ve been working on this post for an embarrassingly long time, but the day is finally here. It’s as finished as it’s ever going it be. It’s my guide to all things gluten-free sourdough. This might be the most important thing I’ve ever written. Get ready to have your life CHANGED.
But first, some backstory: I’be been exclusively gluten free since I diagnosed with Celiac disease in 2012 (just kidding the first time was in 2007 but thats a whole different story), and, since gluten free bread tends to be expensive and/or (usually and) terrible, I just kind of went without. Until the fall of 2017, when I got the VERY UPSETTING NEWS that my MOST PRECIOUS WONDERFUL PERFECT ANGEL OF A SON has inherited at least one of my crappy genes and had Celiac disease too. I mean, that explains the excessive poop-related issues we’d been dealing with his um… whole life but STILL. I may be able to grit my teeth through crappy (or no) bread until I meet the sweet relief of death (I’m operating on the assumption that heaven has bread, but don’t quote me on this) but MY SON DESERVES BETTER. MY SON DESERVES DELICIOUS BREAD. And also I don’t know what the hell else toddlers are supposed to eat.
It took an unnecessarily long time of halfheartedly researching it (and dabbling in other DIY fermentation experiments to prove to myself I could do it) but with a little nudge from my friend Lauren who is a totally normal person with a job and other interests and not a food blogger with a financial interest in leading me to believe I am more capable of this sourdough thing than I actually am, I gave it a serious try, and… it totally actually 100% worked GLORY HALLELUJAH WE HAD BREAD.
But here’s the thing. This took an unnecessary amount of research because there just isn’t a ton of resources when it comes to gluten free sourdough. I mean theres some stuff but not enough that gluten sourdough recipes aren’t showing up in the google results. And most of what I found involved blending all the kinds of alternative flours and/or like way too many steps/dishes. I need bread, I need it to be GOOD, but I also need it to be EASY. And, I hope this isn’t too bold of an assumption, but I’m assuming that’s what you want too.
SO WHO’S READY TO GET THIS BREAD???
Ok before that I need to get a couple things out of the way: I’m not an actual expert on this subject and this post is just MY experience with gluten free sourdough. Your results may vary, I’m happy to answer any questions you might have but I can’t promise that I’ll actually know the answers. Also, while the bread and bread related recipes in this post are gluten free, dairy free, and some of them are vegan, the aren’t exactly “health food” recipes so please don’t come at me about refined carbs and such. We are gluten free PURELY out of genetic necessity. PURELY.
Another disclaimer: I am not a food photographer or recipe writer and the lighting in my kitchen is TERRIBLE. So please excuse the lack of technical terms and step by step photos. I’m doing my best here.
Alright guys, lets go.
So the basic principle behind sourdough is that the natural bacteria and “wild yeast” in the air will eat the starch in the flour and essentially fart out bubbles of gas that make air pockets in the bread so that it’s soft and delicious instead of gross and crumbly like store GF bread. UNFORTUNATELY since the thing that makes this work well in gluten bread is the um… gluten, there are some considerations we need to take: One, even with the HAPPIEST starter we’re going to need a secondary leavening agent, whether that’s eggs, baking powder, or yeast. Even the BEST gf flour blend (I’ll get to that in a minute) just doesn’t have the structure to rise well on its own. Also, GF dough is notoriously delicate, so there won’t be a lot of kneading or loaf-forming here. BUT IT WILL BE DELICIOUS and thats all that matters.
This process can basically be broken down into two steps: first, we’ll need to make a “starter” or “mother” that’s going to give us the wild yeast necessary for our sourdough. This takes a few days but once it’s nice and happy THEN we get to bake with it. And after you bake with it you have to feed it and basically now you have a new pet but it’s a pet that helps you make bread. Let’s see a dog do that.
there are three ways you can go about making a sourdough starter: you can buy a pre-made culture and follow the directions on the box, you can start with a small amount of someone else’s starter that they gave you (if you’re local I’d be happy to give you some of mine), OR you can make your own. Making your own SOUNDS intimidating but actually it’s the cheapest and involves talking to the least amount of people so this is the one I recommend and also the one I'm going to walk you through right now. If you’re going to choose a different route for your starter that’s fine you can meet back up with me in a few paragraphs.
You need exactly three things to make your starter: gluten free flour, water, and a jar. Ok I guess you need a spoon too. So, four things. But that’s still not very many things.
A quick note about flour. I use Bob’s Red Mill Gluten Free 1-to-1 for basically everything. I use it so much of it i buy it in 25 lb bags from Azure Standard. I can’t say enough nice things about Azure but the biggest thing is that their price on this particular item is $30-40 cheaper than I’ve been able to find anywhere else, AND they ship it to my local drop point for free. If you’re not using Azure Standard, you really, really should (and use the code VictoriaMeyers2 when you check out because reasons). The only thing I don’t use it for is the bread loafs. For those I use Pamela’s artisan flour blend (also purchased in bulk from Azure Standard). Look, I’m no expert and can’t explain exactly WHY Pamela’s works better for the bread AND THE BREAD ONLY but trust me here. Just put both in your cart right now. I’ll wait. For further reference, when I say the word “flour”, I mean Bob’s Red Mill gluten free 1 to 1, unless I say “Pamela’s” in which case I mean Pamela’s artisan gluten free flour blend, but I don’t have time to type those out every single time.
Ok so now you’ve got flour, water, and a jar to put it in. Awesome. Now we begin the arduous days-long journey of cultivating wild yeast. The “traditional” way of doing this involves mixing big quantities of flour and water, pouring most of it out, and adding more. Because, as you’ve noticed, gluten free flour is a bit on the spendy side, we want to avoid this. So I’ve come up with a perfect, no-pouring method to get yourself some sourdough started in just four days. Also, theres pancakes involved so…
DAY ONE AM:
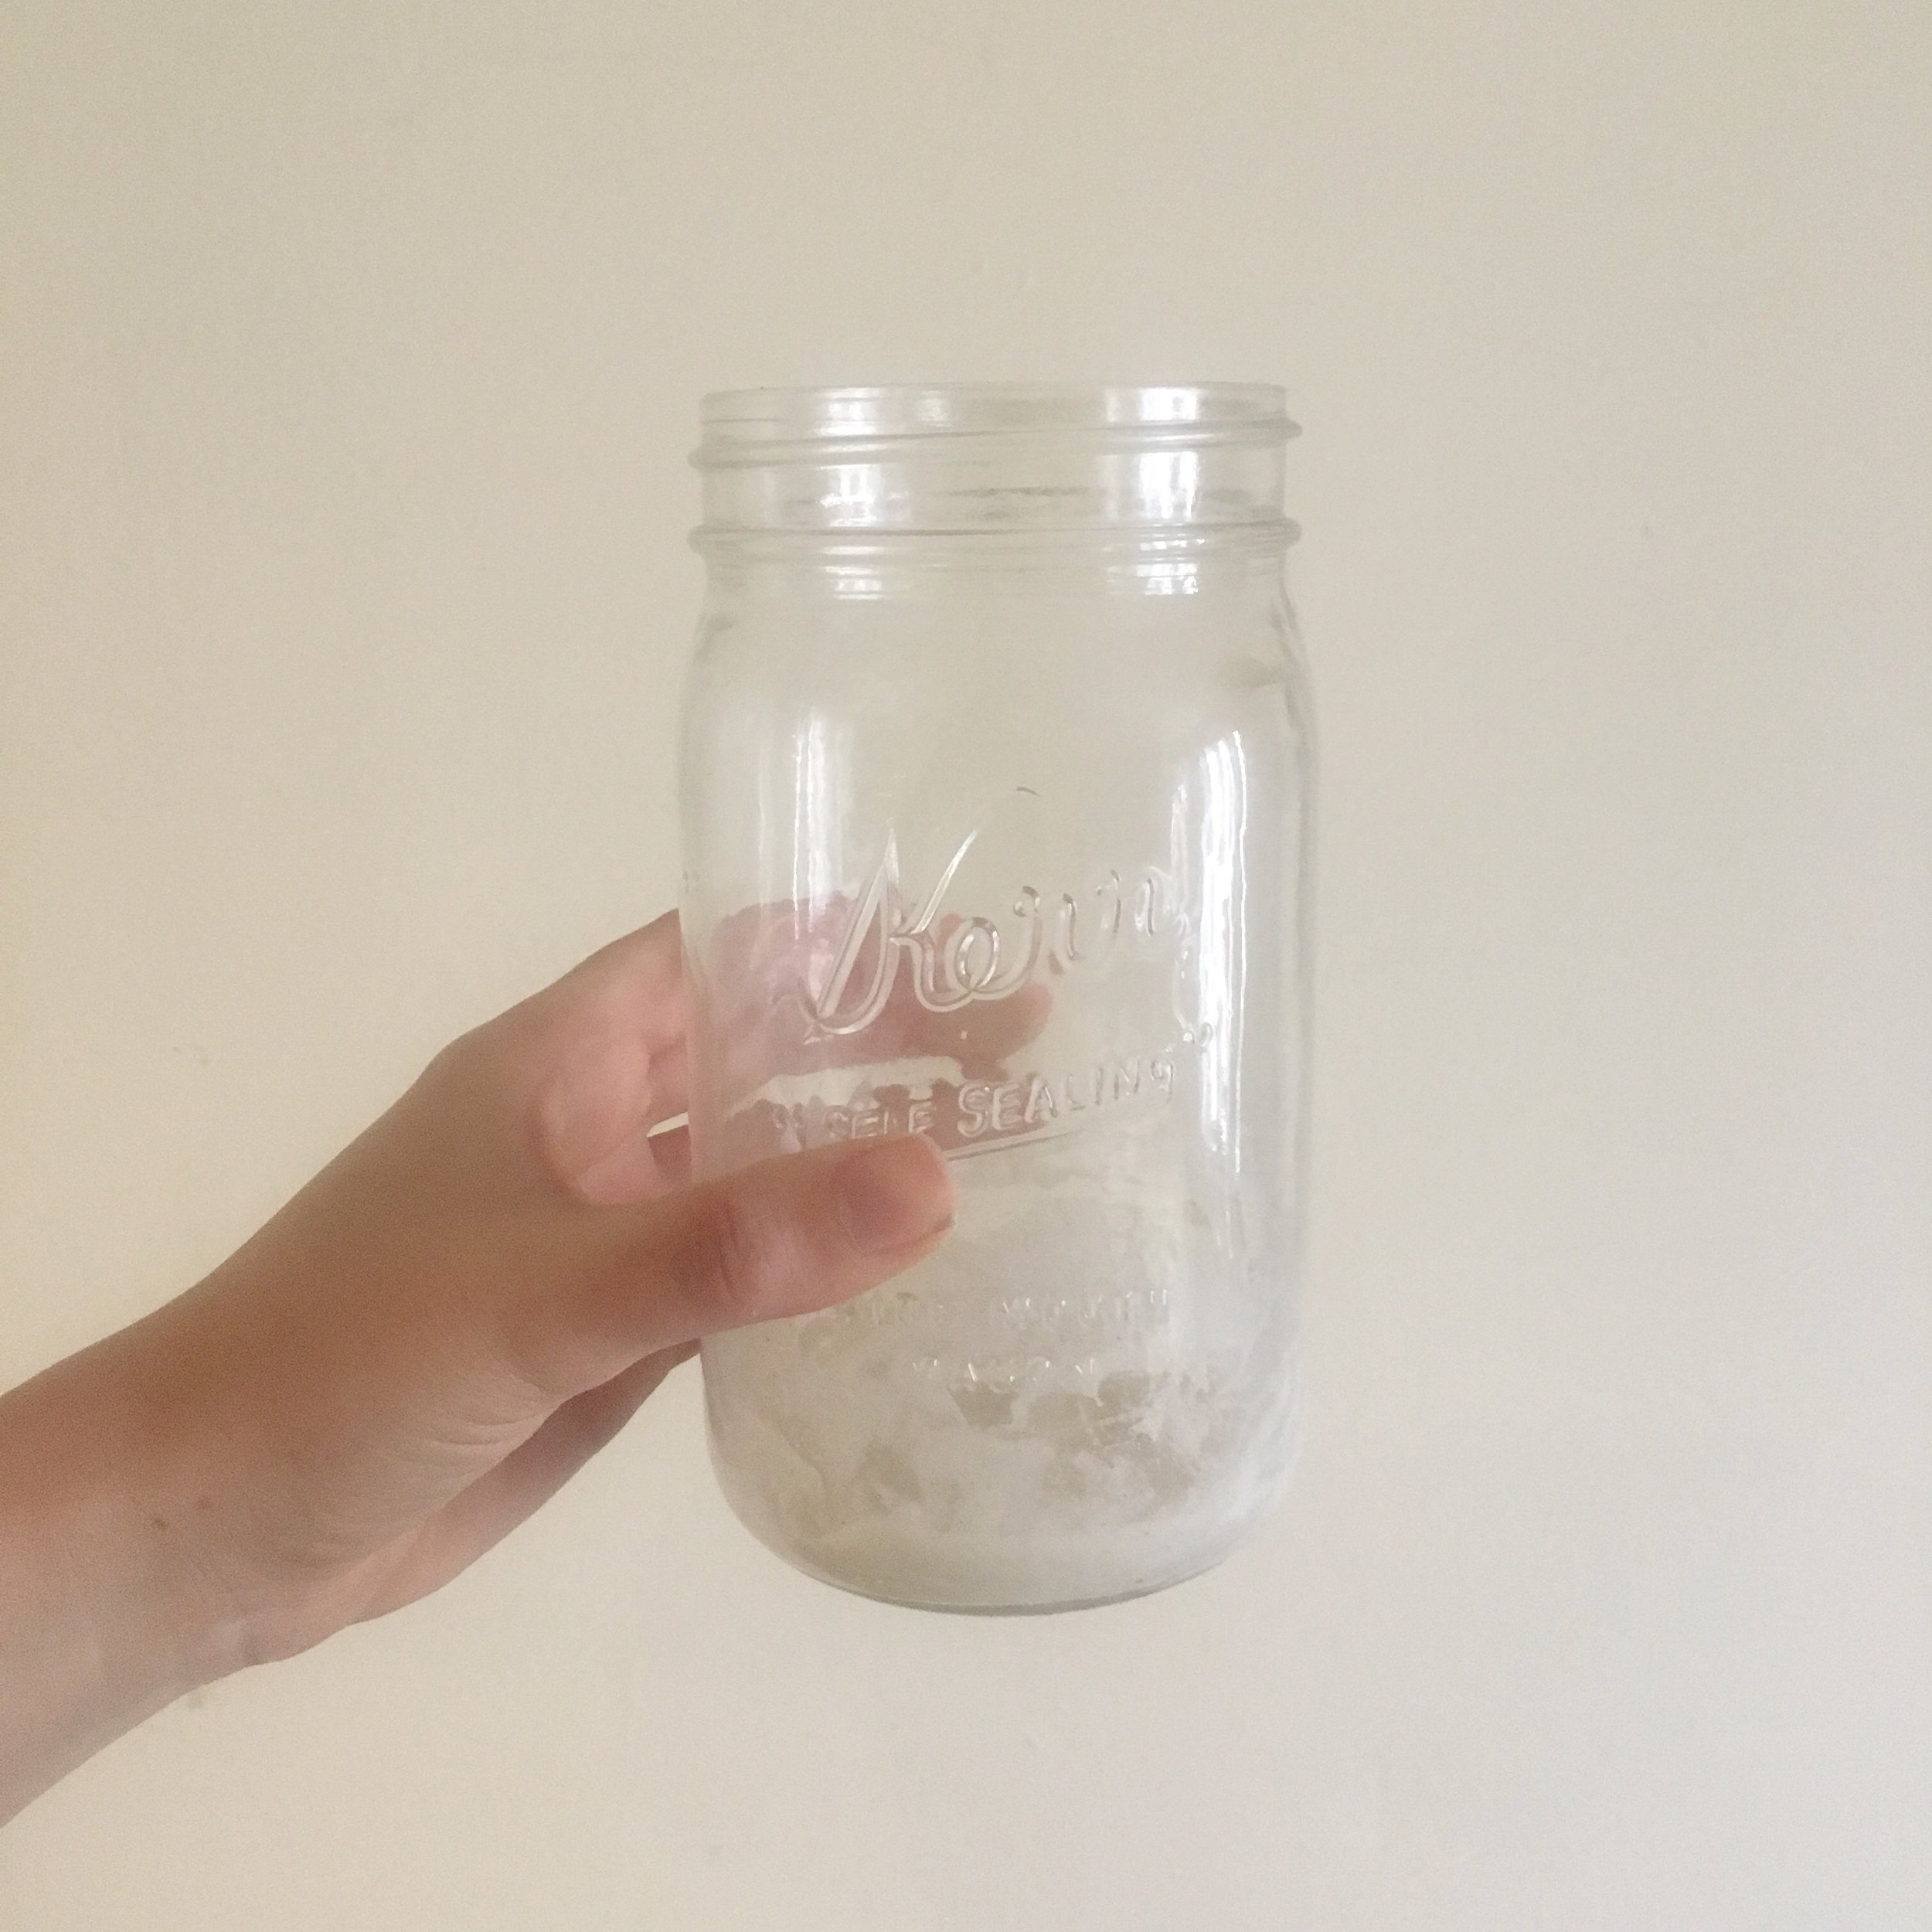
Wash your jar really well and mix 2 Tbsp each of flour and water in the bottom. Cover with cloth or a paper towel but NOT THE LID OF THE JAR.
DAY ONE PM:
Stir in 2 more Tbsp each of flour and water. It will look, smell, and taste like glue and you may feel like you’ve been duped. You haven’t. Please, stick with me here.
DAY TWO AM:
We’re gonna step up our feeding by stirring in 1/4 cup each of flour and water.
DAY TWO PM:
Do it again but HEY LOOK THERES SOME BUBBLES AND IT KINDA SMELLS. This is good. We want it to smell.
DAY THREE AM:
We’re gonna feed it MORE! 1/2 cup each of flour and water!
DAY THREE PM:
Another 1/2 cup each! Uh oh, the jar is getting kinda full now.
DAY FOUR AM:
Ok that jar is pretty full, there are some small bubbles, and it definitely smells kinda sourdough-ey. If we add any more flour and water the jar will overflow, but we don’t want to throw away our precious sourdough, so LETS MAKE SOME PANCAKES.
Pancakes are a great way to use up “poured off” starter, starter that’s not quite ready yet, or just, because you want pancakes. And also the sourdough aspect fixes a lot of the things that are typically wrong with gluten free pancakes. Mainly the like, texture and that they don’t rise very well. Here’s how you do it:
Mix 1 cup of sourdough starter, 1 cup of GF flour, 1 cup of milk or milk alternative (we use oat), 1 egg, 1 tablespoon sugar or sugar alternative, 2 tsp of baking powder, and some cinnamon and vanilla extract in a large bowl and let it sit for at least 5 minutes. This step is very necessary because the GF flours tend to take some time to absorb liquids. Look I don’t make the rules. Then you can pour small scoops onto a hot griddle or frying pan, flip over when bubbly, hopefully don’t burn them, and enjoy with your favorite pancake toppings.
THEN after you’ve enjoyed your pancakes you should have a small amount of starter left in the jar (less than a cup?). Now we’re going to give it a big feed to make some actual bread. Now, different blog posts will tell you different things about starter/flour/water ratios and feeding schedules BUT all of them are way too complicated and here’s what I’ve found works best with the gluten free sourdough: you know that thing in the bible that says a little leaven leavens the whole lump? So, the GF starter seems to be most happy and bubbly if you use up most of it, and then feed it according to what you plan on making next. Different recipes require different amounts of starter, so, whatever the recipe you’re going to use says, stir in that much flour and an equal amount of water, and let it sit for 12-24 hours before you’re ready to start something. Yes, this does mean that you essentially have to plan your bread two days in advance. But trust me, it’s 10000% worth it. Also, you don’t have to feed it twice a day anymore, just, about 12 hours before you want to start making something. You can totally leave it for a day or two unfed, and if you go on a trip or something, just pop it in the fridge and it will be fineeeee.
If you want to start with an actual loaf of bread (which I’m assuming you are if you’re this far down into a post about gluten free sourdough), this means 1.5 cups of flour and 1.5 cups of water.
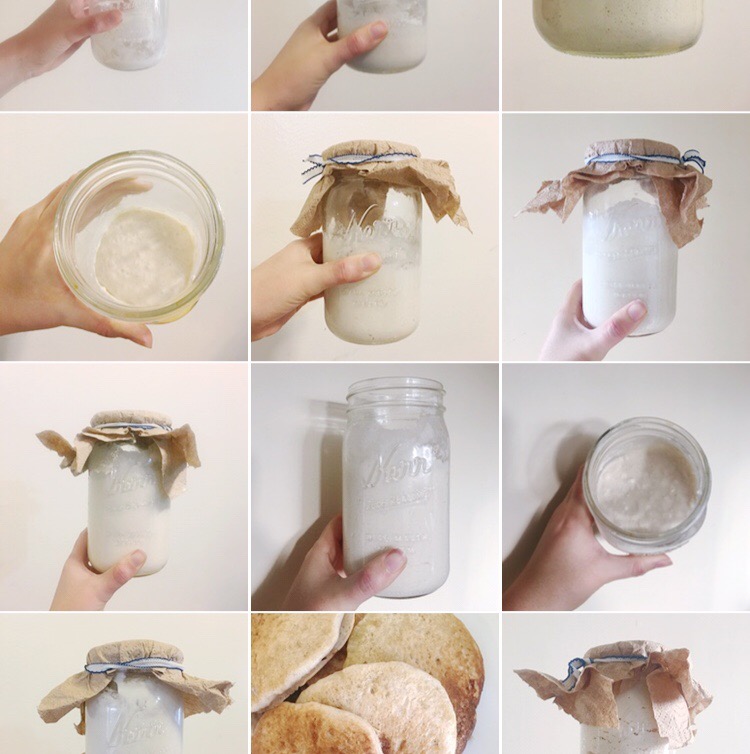
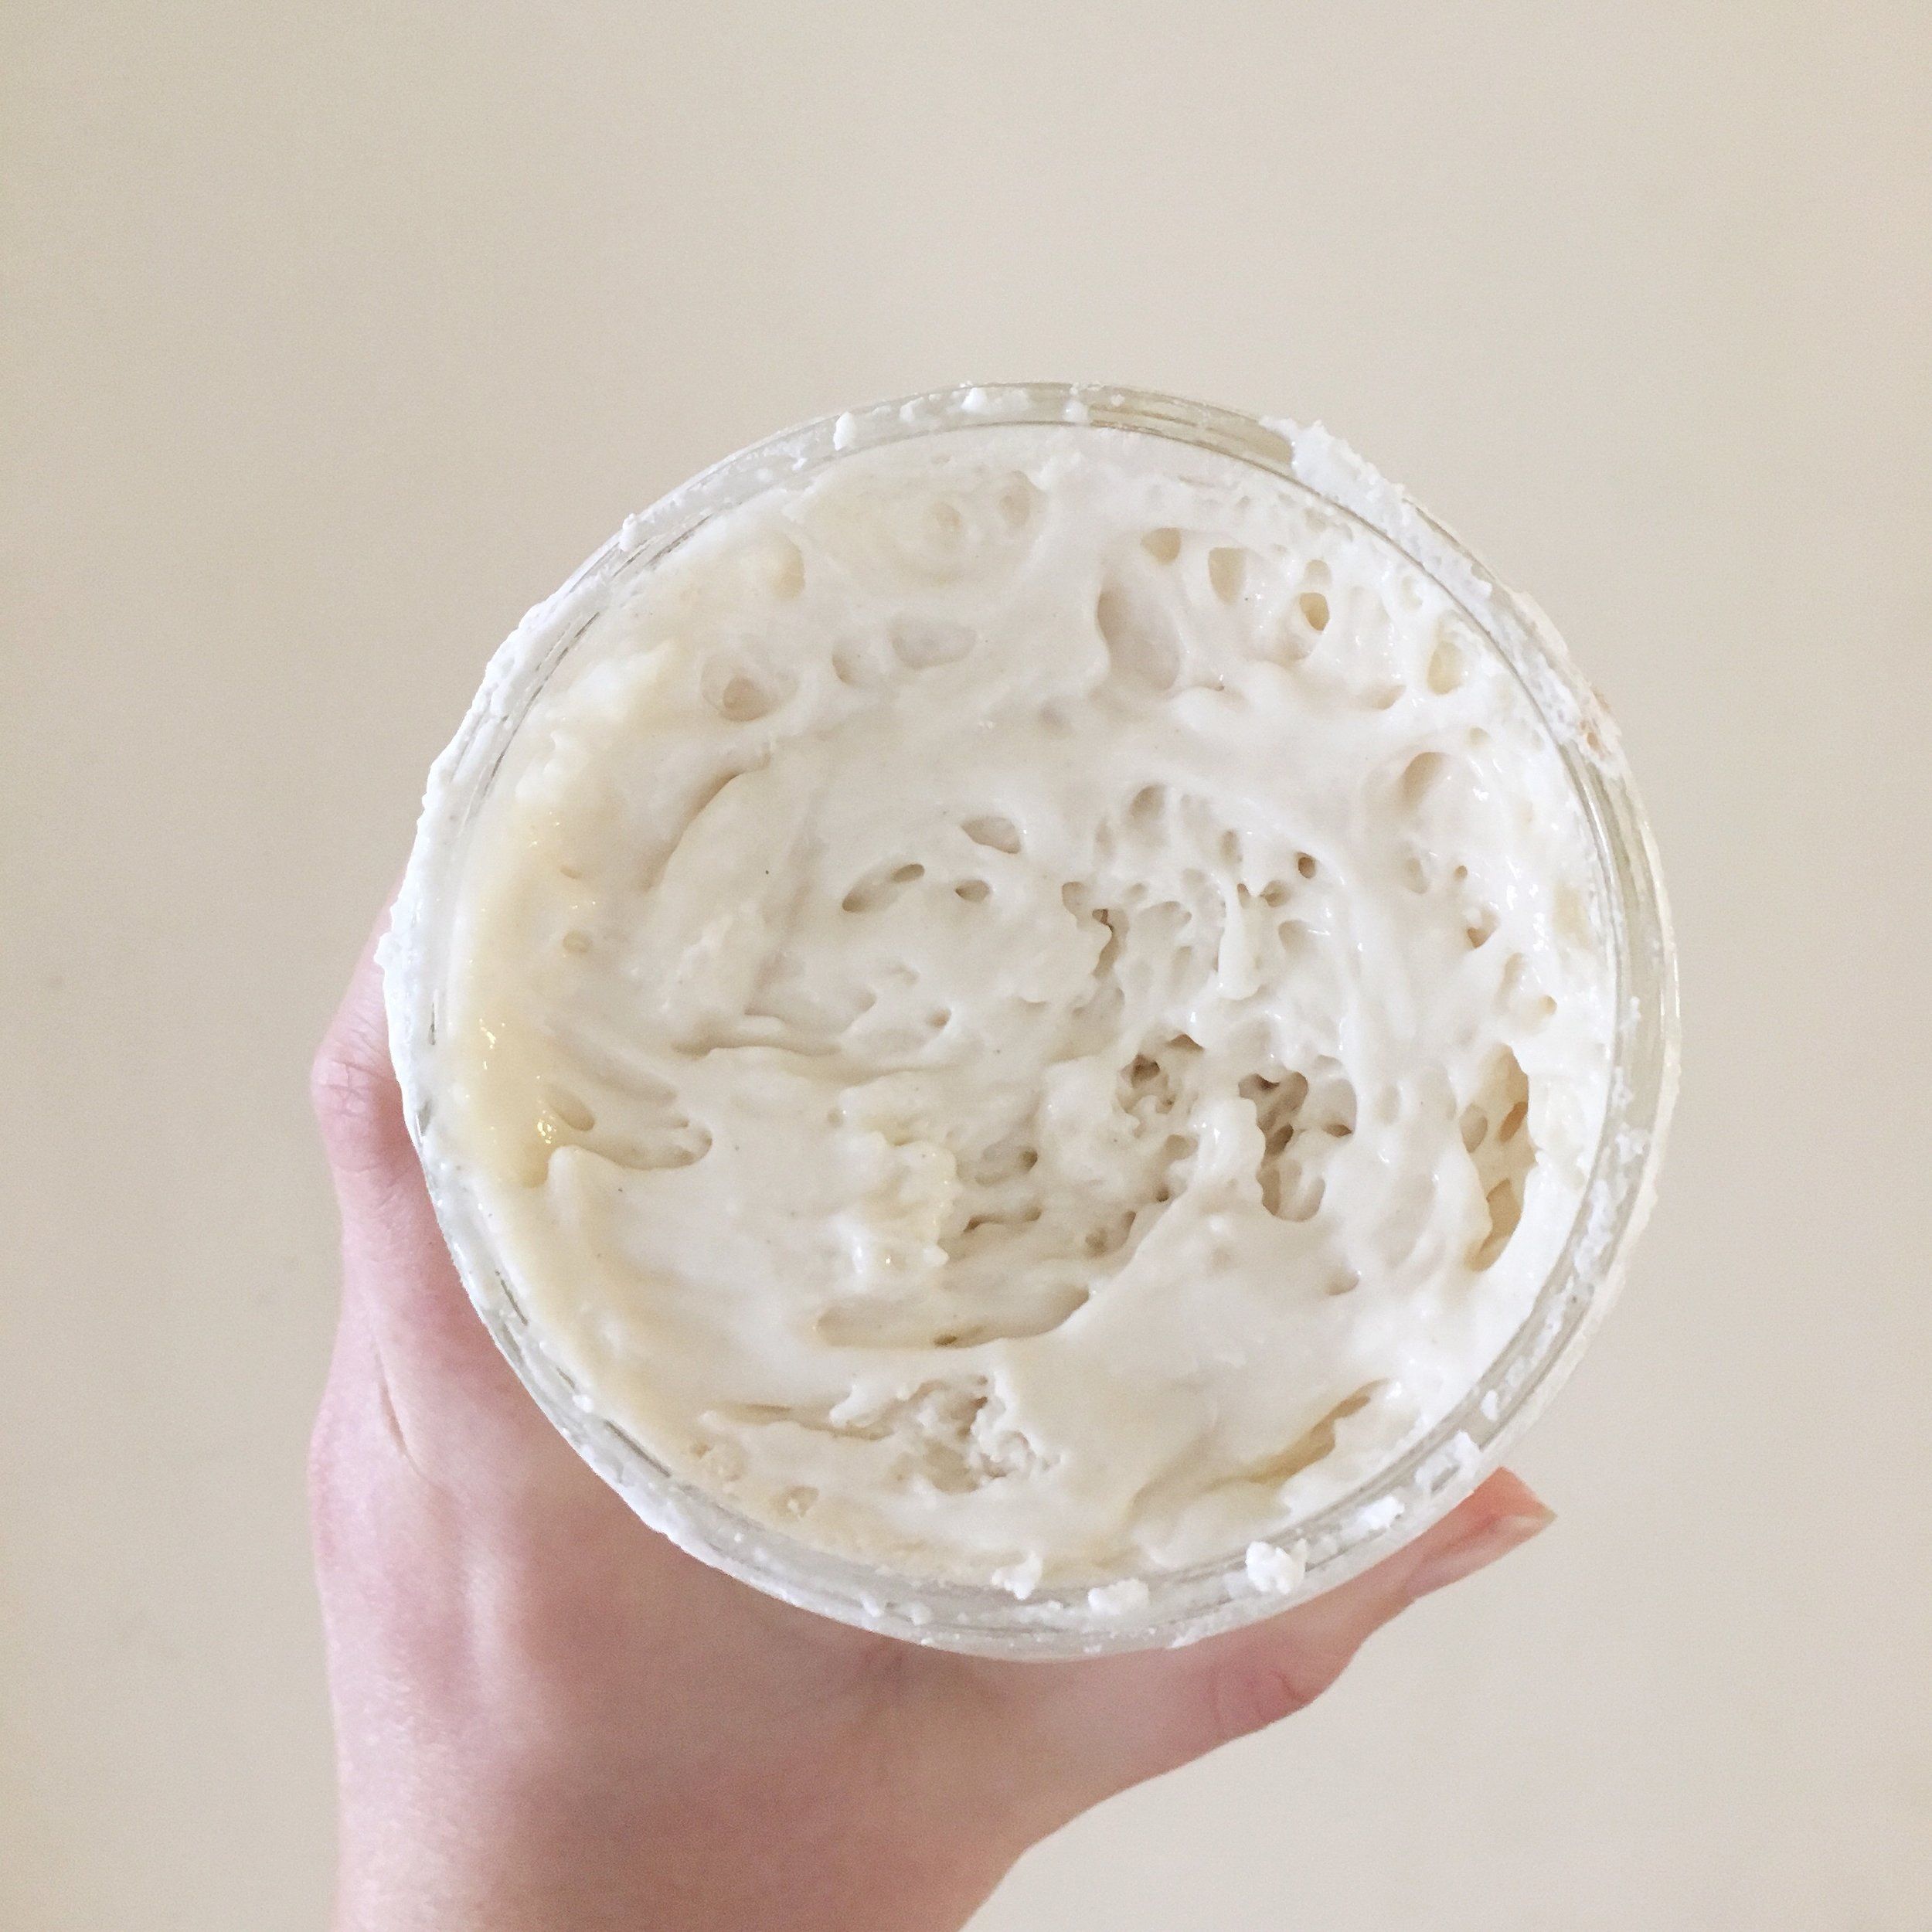
Now 8-12 hours after this feed, you should have, as I call them, THE GOOD BUBBLES (TM)
FINALLY WE CAN MAKE SOME BREAD
So first we’re going to mix together 1.5 cups of that nice bubbly starter, 2 cups of the PAMELAS gf flour blend, 1 cup of water, 1/2 teaspoon of active dry yeast, and 1 teaspoon of salt in a large bowl, THEN we’re going to gently transfer this dough into an oiled or parchment lined loaf pan and DON’T SMUSH IT DOWN JUST KIND OF GENTLY PAT IT IN (I have a pampered chef stoneware and I LOOOOVVVVEEE it) and let it rise for at least 12, but up to 24 hours. If all goes well it should have gone from the biggest worst looking drop biscuit you’ve ever seen to “hey that’s kinda almost a bread”, and NOW you can pre-heat the oven to 375, and bake for an 1hr 15mins - 1hr 30mins, or until it’s browned and you can stab it without the knife getting gross. Like all breads, you need to wait until it’s REALLY cool to cut it, but, YOU’VE MADE BREAD. REVEL IN ITS GLORIOUS CRUMB. YOU ARE THE MASTER OF HOME FERMENTATION.
Obz now you’re like, super into this and wondering WHAT THE HECK ELSE CAN I MAKE and let me tell you, there are some THANGS that can be made here:
You can make Flatbread (great with hummus):
Mix 1 cup of bubbly starter, 2 cups of flour, 3/4 cup water, 1 egg, 1/2 teaspoon yeast, and 1 teaspoon salt in a large bowl and let rise for 4+ (but as many as possible) hours. With VERY OILED hands pat small handfuls into disks and fry on a hot, oiled pan or griddle for about 2-4 minutes on each side, or until lightly browned and cooked through.
You can make Pizza:
Mix 1 cup of starter with 2.5 cups of flour, 1 cup of warm water, 2 tablespoons olive oil, 1/2 teaspoon yeast, and 1 teaspoon salt. This is the only one you will knead, doing so GENTLY and just until it’s a nice single ball of uniform dough. This will be messy and it will be sticky and it will NOT get stretchy no matter how long you kneed so just stop as soon as theres no crumbles of flour. Let it rise for 4-6 hours, then roll between two layers of plastic wrap (I know, plastic wrap is horrible but a very necessary evil in GF baking) until it’s about 1/2 an inch thick (this makes one very large pizza, divide in half before rolling if you’d like smaller and/or thinner crusts). If you have time let it rise for a couple hours after rolling, then bake at 350 for 15 minutes, add toppings and bake for an additional 15 minutes.
You can make english muffins:
Mix 1.5 cups of bubbly starter with 2 cups of flour, 1 cup of water and 1 teaspoon of salt. Let this rise for 8-12 hours (I usually start this before bed if I want them for breakfast, or in the morning if I want them for dinner), then after rising mix in 1 teaspoon of baking powder, 1/2 teaspoon baking soda, and 1 egg. Drop large spoonfuls onto a hot and oiled cast iron skillet, cooking each side for about 5 minutes, then covering on low heat for about another 10 minutes until cooked through. Alternately you can just drop large spoonfuls onto a parchment lined baking sheet and bake at 350 for 20ish minutes, but that’s not as fun.
AND AND AND
You can make cookies!
Mix 1/2 cup sourdough starter, 1/2 cup melted butter or coconut oil, 1/2 cup sugar, 1 and 1/4 cup flour, 1 teaspoon vanilla, and 1/2 teaspoon baking powder. Refrigerate for at least an hour, then roll small balls of dough in cinnamon sugar (optional, press in a crisscross design with a fork) and bake at 350 for 10-12 minutes.
I’m SURE there are other things you can make too, these are just the recipes that I Personally have had repeated success with, I mean, skys the limit once you get a happy starter going. If you have another sourdough recipe, PLEASE post or link to it in the comments!
Now I won’t blame you if you start making something sourdough every couple of days, but as i said earlier, if you need a break/don’t have time, your starter will be FINE at room temperature for a day or two, and if you're say, going on vacation for longer, it can totally go into the fridge (just, feed it when you take it out).
As I’ve mentioned before, I’m no expert on all the science and intracies of gluten free baking or sourdough, I’m just a celiac mom that misses bread and doesn’t want her celiac son to miss out too. If you have any questions or concerns, feel free to comment or send me an email, and I’ll do my best to help, but I can’t make any promises.
Also, I just want to give a HUGE thanks to Azure Standard for helping me out by providing the flour for this post. Please, PLEASE check them out for all your bulk/health food needs. Also, here are direct links to the Pamela’s and Bob’s flour blends. And yes, I do get a kickback if you order, but only if you use the code VictoriaMeyers2, which I would really, really appreciate (mama needs that flour money…)
Also Also, if you find my very informal recipe style irritating or if this post was just like, WAY too much information all at once, I gotchu. Just subscribe to my email list and you’ll be the first to get the thing I’m working on specifically for you.


